Editable Calendar 2025 Word: A Comprehensive Guide to Customization
Related Articles: Editable Calendar 2025 Word: A Comprehensive Guide to Customization
- Hijri And Gregorian Calendars 2025: A Comparative Analysis
- Print A Free 17×11 2020 Calendar With 1600 Words
- Calendario 2025 Xolos: A Comprehensive Guide To The Tijuana Soccer Club’s Season
- WCalendar 2025 With School Holidays
- Print Your Own Custom Calendar For 2025: A Comprehensive Guide
Introduction
With enthusiasm, let’s navigate through the intriguing topic related to Editable Calendar 2025 Word: A Comprehensive Guide to Customization. Let’s weave interesting information and offer fresh perspectives to the readers.
Table of Content
Video about Editable Calendar 2025 Word: A Comprehensive Guide to Customization
Editable Calendar 2025 Word: A Comprehensive Guide to Customization
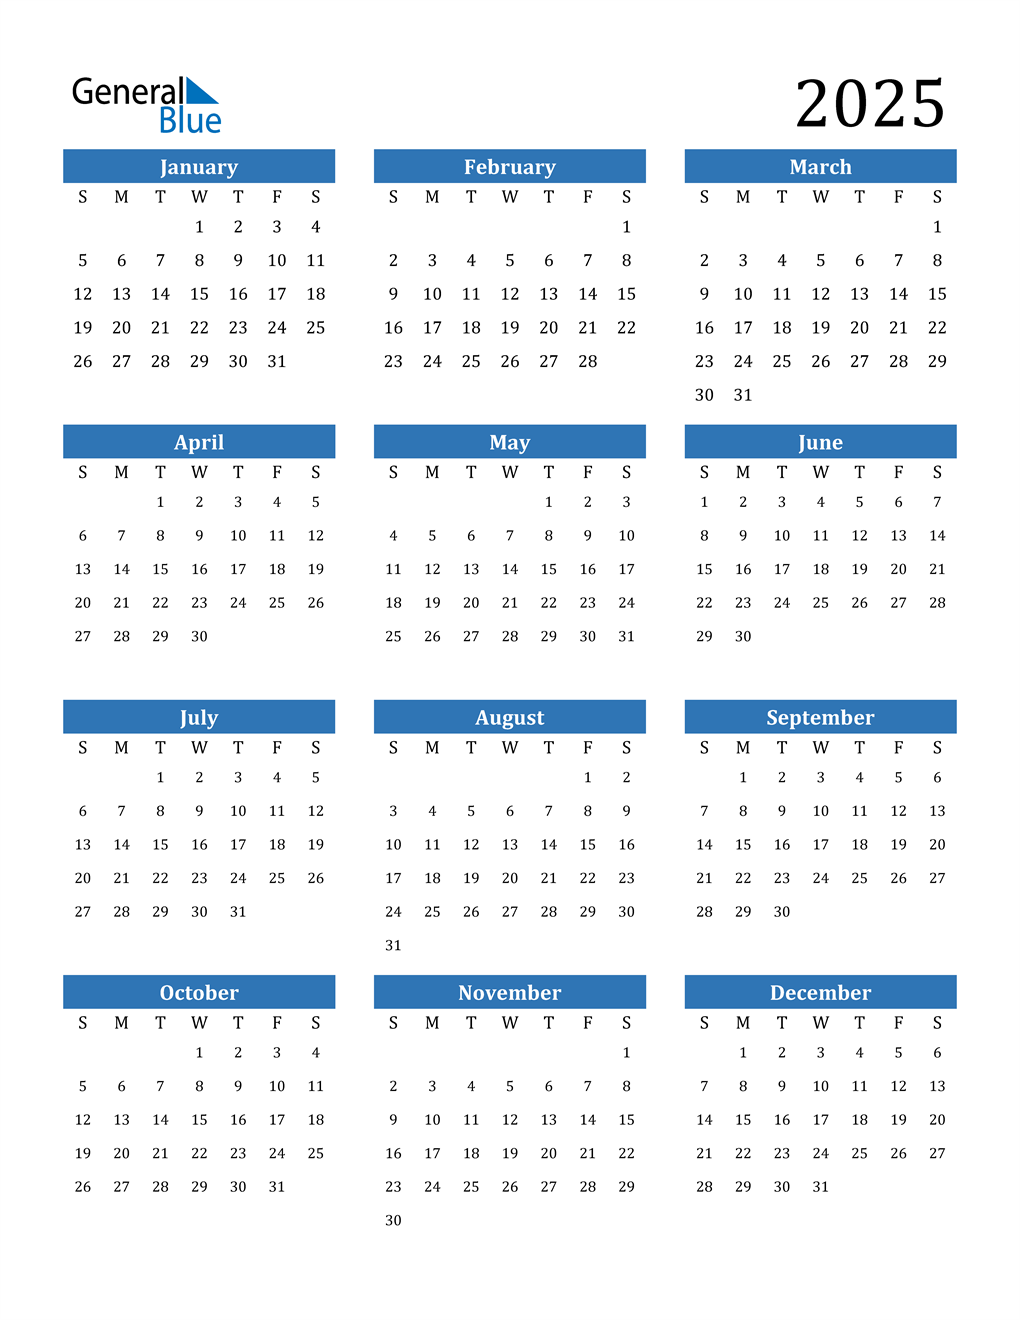
In today’s digital age, calendars have become an indispensable tool for managing our schedules and staying organized. With the advent of editable calendar templates, it has become easier than ever to create personalized and tailored calendars that meet our specific needs. Among the many software options available, Microsoft Word stands out as a versatile and user-friendly platform for creating editable calendars. This guide will provide a comprehensive overview of how to create and customize an editable calendar 2025 in Microsoft Word, empowering you to create a calendar that perfectly suits your requirements.
Getting Started: Creating a New Calendar in Word
-
Open Microsoft Word: Launch the Microsoft Word application on your computer.
-
Select a Calendar Template: Go to the "File" menu and select "New." In the search bar, type "calendar" and press "Enter." Choose an appropriate calendar template from the available options.
-
Create a New Document: Once you have selected a template, click on the "Create" button to open a new Word document with the calendar layout.
Customizing the Calendar Layout
-
Adjust Page Setup: Go to the "Page Layout" tab and adjust the page margins, orientation, and paper size as per your preference.
-
Modify Calendar Structure: The default calendar template may have a specific structure, such as a monthly or yearly view. You can modify this structure by adding or removing rows, columns, or cells in the calendar table.
-
Insert Headers and Footers: Add headers and footers to include additional information such as the year, month, or company logo. Go to the "Insert" tab and select "Header & Footer" to add these elements.
Adding and Editing Calendar Events
-
Create New Events: To add an event, click on the cell corresponding to the date of the event. Go to the "Insert" tab and select "Table" to insert a new row for the event.
-
Enter Event Details: Enter the event title, description, time, and any other relevant information in the newly created row.
-
Format Events: Use the formatting options in the "Home" tab to highlight or differentiate events based on their importance or category. Apply different font styles, colors, or shading to make events stand out.
-
Edit Existing Events: To edit an existing event, simply double-click on the event row and make the necessary changes. You can modify the event details, move it to a different date, or delete it altogether.
Customizing the Calendar Appearance
-
Change Calendar Colors: Select the calendar table and go to the "Design" tab. In the "Table Styles" section, choose a color scheme that suits your preference.
-
Add Images or Graphics: Enhance the visual appeal of your calendar by inserting images or graphics. Go to the "Insert" tab and select "Pictures" or "Online Pictures" to add visual elements.
-
Modify Fonts and Styles: Adjust the font size, style, and color of the calendar elements to match your branding or personal taste. Select the text and use the formatting options in the "Home" tab to make these changes.
Saving and Sharing the Calendar
-
Save Your Calendar: Once you have finished customizing your calendar, save it by clicking on the "File" menu and selecting "Save As." Choose a suitable file name and location for your calendar.
-
Share Your Calendar: To share your calendar with others, click on the "File" menu and select "Share." Choose the appropriate sharing method, such as email or OneDrive, and follow the prompts to send the calendar to others.
Additional Tips for Customization
-
Use Macros: Enhance the functionality of your calendar by adding macros. Macros are automated scripts that can perform specific tasks, such as creating recurring events or generating reports.
-
Protect Your Calendar: If you want to prevent unauthorized changes to your calendar, you can password-protect it. Go to the "File" menu, select "Info," and click on "Protect Document."
-
Integrate with Other Applications: Connect your calendar with other applications, such as Outlook or Google Calendar, to synchronize events and appointments.
Conclusion
Creating and customizing an editable calendar 2025 in Microsoft Word is a straightforward and empowering process. By following the steps outlined in this guide, you can tailor a calendar that meets your specific requirements and enhances your productivity. Whether you need a monthly planner for personal use, a yearly overview for business purposes, or a customized calendar for a specific project, Microsoft Word provides the flexibility and tools to create the perfect calendar for your needs. Embrace the power of editable calendars and take control of your time management today!

Closure
Thus, we hope this article has provided valuable insights into Editable Calendar 2025 Word: A Comprehensive Guide to Customization. We thank you for taking the time to read this article. See you in our next article!